I happen to be part of a lot of Facebook groups regarding cloth diapers, and one thing I come across often is beginners becoming overwhelmed by the cloth diaper wash routine. To me, it seems so simple and sometimes I don’t see what is confusing about it, but then I remember that I was exactly the same way when I first started. Cloth diaper washing instructions don’t have to be difficult. Sometimes, seeing a routine on video can really help you wrap your head around it.
For the most part, we don’t usually put a lot of thought into washing our clothes. But think back to when you first learned how to do your own laundry–you were probably a little overwhelmed then, too! But I promise you that if you already know how to use your washer, then learning to wash diapers is a piece of cake.
This post focuses mainly on non-HE top-loaders with agitators.
Check out this post for front-loader washing tips.
Video for HE top-loaders coming soon!
Cloth Diaper Washing Instructions How-to Video
Video Summary
 Prewash: In my video, I started out with a prewash. A prewash is just a rinse or light wash, depending on your preferences and how much you think your diapers need. I have started my wash routine in the past with just a rinse, and it worked for my first child. For my second child, it didn’t seem to get quite as clean, so I switched to a light wash.
The purpose of a prewash is to get the bulk of the dirtiness out of the diapers. You can choose to skip the prewash if you want, but just keep in mind that if you do, your diapers are going to be spinning around in dirty water trying to get clean. It will be easier to get the diapers sparkly clean if they are being washed with cleaner water.
When I switched from a rinse to a light wash, I started adding a small amount of detergent. I do about half a capful of liquid detergent or line one of powder detergent.
The prewash part of my routine is this (for 2-3 days worth of diapers): Put diapers in the drum, change load size to “large” (the third largest out of 4 options for my washer), water temp “warm”, half a cap of detergent.
Main Wash: After the prewash, you do your main wash. The difference between the prewash and the main wash is that you use more detergent, add an extra rinse at the end, and you may choose to use a hotter water temperature.
I do a very full cap of detergent for the main wash. With powder detergent, I aim between lines 2 and 3. I change the water temperature to “hot” and turn on the “extra rinse” option. Then I set it to a regular wash. You can also choose a “heavy” wash option if you choose, but I don’t feel it’s necessary for my particular washer.
If you don’t have an extra rinse option, you can decide how you want to handle that. I do an extra rinse just to make sure I get all detergent residue out, especially since I use a little more detergent for diapers than I do for regular clothes. If you don’t have the option to add an additional rinse to your wash cycle, see if your washer allows you to do one independently after the fact. You could also try doing your lightest wash possible (with no detergent) as a rinse cycle, or you could try skipping that extra rinse and just see how it goes.
Drying Your Diapers
Once your main wash is done, it’s time to dry your diapers! Inserts, prefolds, and flats can be put in the dryer with no hesitation.
Your covers and diaper shells can also be put in the dryer, but you should make sure to dry on low or medium to protect the PUL and elastics. You can also choose to hang dry your covers/shells if you prefer.
Get a Free Wash Routine Printable PDF!
Sign up for my email list and receive a FREE wash routine printable that you can hang in your laundry room for reference. You can use this as a quick cheat sheet or go-to guide without having to pull up any webpages.
Additional Notes:
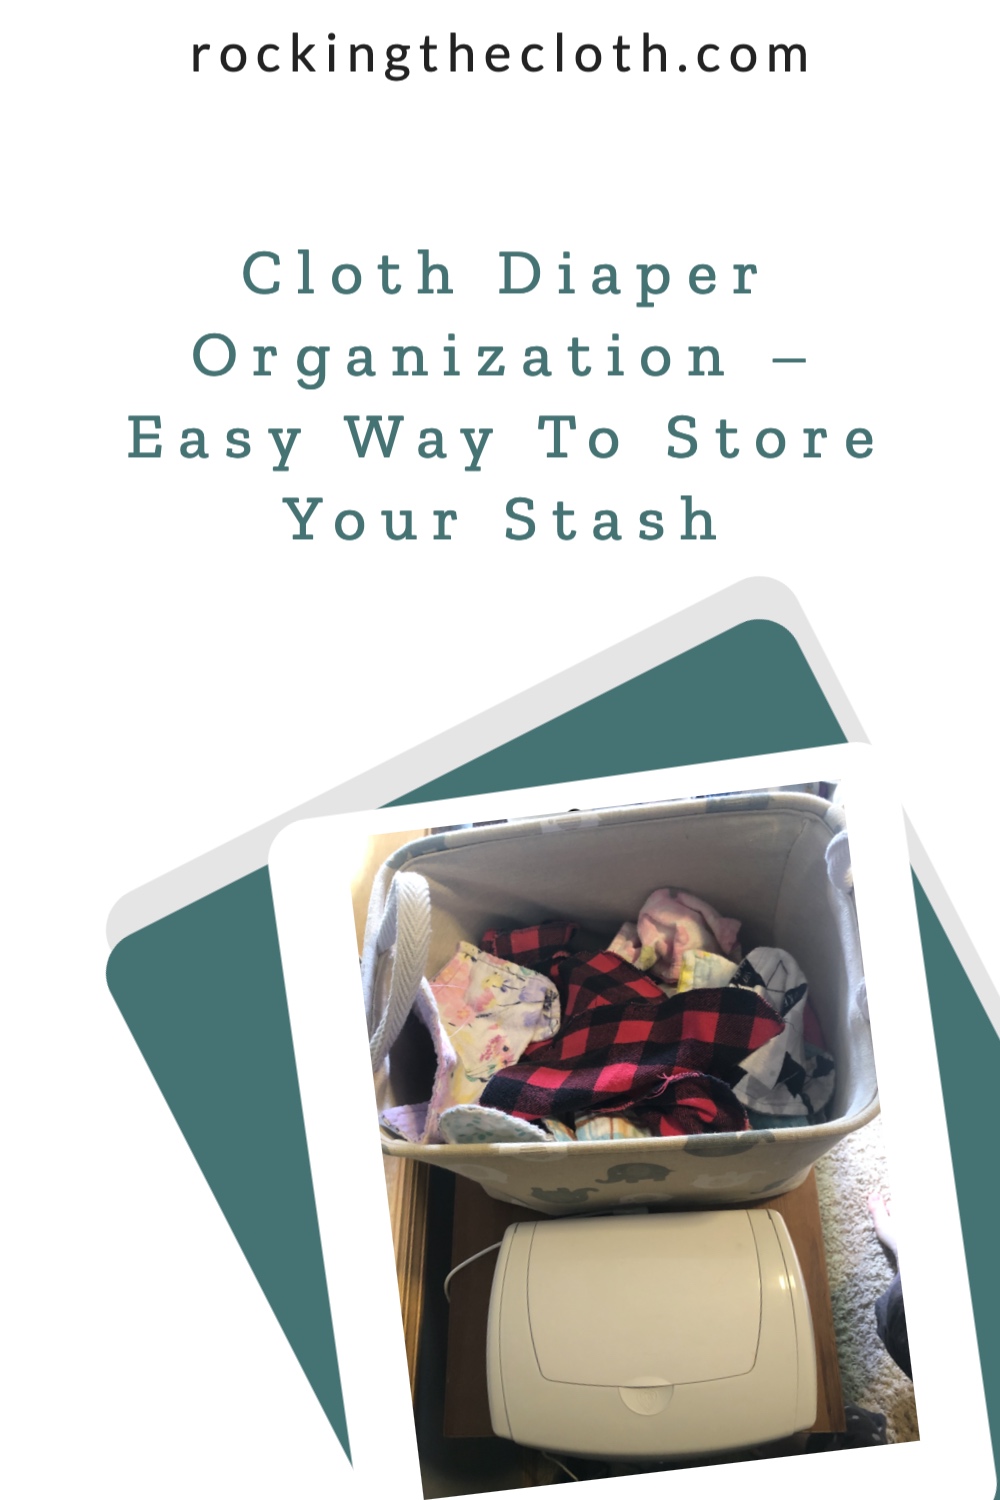
 Make sure that in-between washes, you store dirty diapers in a dry container. I simply use a garbage pail that I repurposed as a diaper pail. I put a pail liner inside the garbage can, and after dumping or scraping the solids off the diaper into the toilet (if your baby is eating solids–if they are not yet doing that, you can just put the diaper right in the pail), I put it in the pail until it’s time to wash.
It used to be very common practice back when more people cloth diapered to soak diapers in a bucket of water between washes. Sometimes people would add things like baking soda, vinegar, or even bleach to these buckets.
Do not do this! All you are doing with that bucket of water is creating a germ cesspool and a gigantic mess, making more work for yourself, and harming your diapers.
Yes, you are harming your diapers! It is very hard on them to have them soaking for long periods of time like that, and depending on whatever agents you add to the bucket, you can wear out the PUL or elastics much sooner, too.
Store your dirty diapers in a dry pail in between washes. It is much simpler, more hygienic, and less of a hassle.
Cloth Diaper Washing Is Easy!
See? That really isn’t so hard. Washing diapers is as easy as…doing a load of laundry! 😉
That’s not to say that you’ll never run into any issues along the way, but most likely any issue you have can be easily fixed by reevaluating your routine to make sure you are following best practices, using enough water, and using enough detergent.
What do you think of this routine? Does it seem difficult or easy? Let me know in the comments!


What a wonderful thing solution to a problem to write about! I applaude you, I am past that stage thankfully..he is 24 now. It does amaze me though just how many folks don’t know the first thing about cloth diapers let alone how to wash them. For me cloth was the only way to go. They were cheaper and my son was allergic to a lot of the store bought diapers.
Wonderful use of video 🙂
Thanks Cathy! I’m glad you enjoyed the article. I hope the video can help some people realize it’s not so hard to care for cloth!
Hi Holly,
Your article brought back memories to me! I did lots of research about cloth diapers (nappies) and bought several to sample. This was in 2009 while pregnant with my son. I did not know how to wash them and ended up using the truckload of disposable nappies given to me at my baby shower..
Fast forward to reading your article and I now know there is hope! It is just commonsense to use prewash, before main washing with more detergent!
I was first inspired from my neighbours from Lithuania. Every morning I would see a row of white cloth diapers on the line so I figured it couldn’t be that difficult.
Holly thank you for such a detailed article. I am more the wiser as result.
Blessings,
Stella
Thank you so much for your kind words, Stella. I’m glad this article helped you out! That’s awesome that you were inspired by your neighbors–it’s great to see people using cloth in real life, not just online!
Hi there,
friend of mine just got a baby and the whole debate between which diaper is better happened haha. One of the biggest questions was about washing as it makes person stop a little bit and question washing stuff like that all together. Do you think that even natural detergent work as well as the fully chemical one? I will send this article along!
Hi Andrea! Generally speaking, a more typical detergent works better for cloth diapers than natural ones, however there are some good natural options, too! I wrote about them here: Environmentally Friendly Laundry Detergent – 4 Green Choices for Your Home
Thank you for sharing your experience with washing cloth diapers. It is daunting even thinking about changing to this option, so thank you for giving me a bit of reassurance that it’s really not that hard to keep up with the cleaning routine. How many days do you leave the diapers before you wash them though? I think I’d be tempted to wash daily, because of the smell… I think I’ll have to read some more articles on your page. You probably will have the answer to most of my questions on here. Thanks again.
Hi Petra! Some people do wash daily. I’d say most common is every other day. I usually do 2-3 days myself. Some people will try to stretch it to 5-7 days, but I think you’re prone to more issues with staining, mold, etc. at that point, so I don’t completely recommend going that long. Many people that have enough cloth diapers do, though!
It is nice to have a video and PDF offering with this information. All to often individuals purchase the throw away option and maybe with this information on cloth diaper washing, people will take more initiative to go the route of environmentally-friendly cloth options. Well done. I like how easy you break it down. It certainly can save a lot of garbage!
Thanks Virginia! I’m glad you found it helpful.